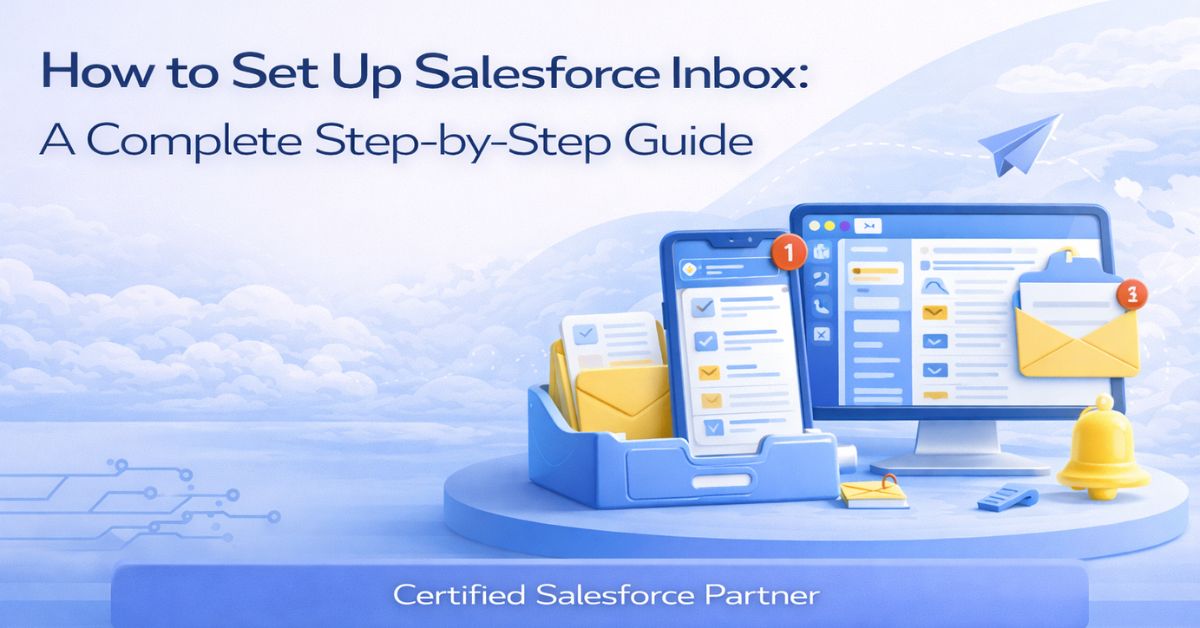
If your sales team is still manually copying email threads into Salesforce records, there is a better way. Salesforce Inbox connects your email and calendar directly to your CRM, so activity gets logged automatically and reps spend less time on admin. This guide walks you through how to set up Salesforce Inbox from scratch including the bits most tutorials skip.
Salesforce Inbox is a productivity tool built on top of Einstein Activity Capture (EAC). It works alongside Gmail or Microsoft Outlook and gives sales reps access to Salesforce data without leaving their inbox.
Here is what it adds to your workflow:
These features sit on top of Einstein Activity Capture, which handles the underlying sync between your email provider and Salesforce. Setting up Inbox means setting up EAC as well the two are tightly linked.
Let’s break it down before touching any settings.
Salesforce Inbox requires a paid Inbox licence on top of your standard Salesforce licence. The standard version of Einstein Activity Capture is included with Sales Cloud Professional Edition and above, but it does not include Inbox’s advanced features like email tracking and templates.
Here is a quick summary of which permission set matches each licence type:
Licence | Permission Set to Assign |
Sales Cloud Einstein | Sales Cloud Einstein |
Inbox | Inbox with Einstein Activity Capture |
Sales Cloud (standard) | Standard Einstein Activity Capture |
To check your licences: go to Setup > Company Information and review the User Licences section. If you do not see an Inbox licence listed, contact your Salesforce account executive before continuing.
Salesforce Inbox works with:
Make sure your users are on a supported email platform before starting.
Here is the full setup process for admins. Work through each section in order.
On the Setup Assistant page, toggle Make Inbox Available to Users to ON. This activates the feature across your org but does not push it to users automatically you control who gets access in the next step.
If you want to use Inbox without Einstein Activity Capture, you can assign one of the two alternative permission sets instead and skip the EAC configuration steps below.
Back on the Setup Assistant page, click Set Up next to the Einstein Activity Capture section.
EAC will begin syncing within a few minutes of completion.
Once the configuration exists, you need to assign users to it.
Make sure each user’s email address in Salesforce matches their Gmail or Outlook account mismatches will cause the sync to fail silently.
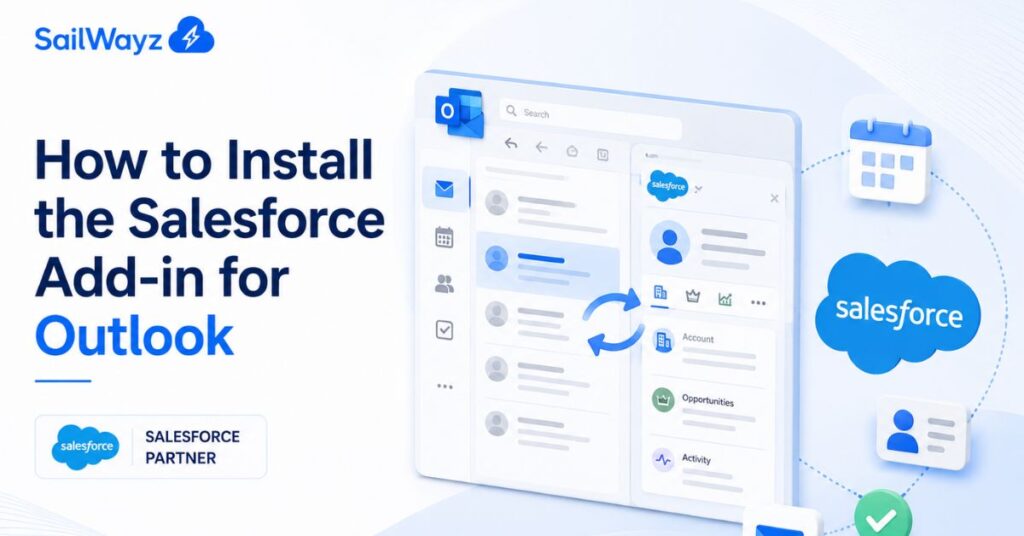
For email sync to work inside Gmail or Outlook on the web, users need the Salesforce browser extension installed.
Once connected, a Salesforce side panel will appear within their inbox. From here, they can view related records, log emails, create tasks, and access templates without leaving their email client.
If you chose User Level authentication during EAC setup, each user must complete their own connection.
This step only needs to be done once per user.
A couple of things worth doing before your full rollout.
Excluded addresses: Go to the Einstein Activity Capture Settings page and set up excluded addresses. Add your own company’s domain here so that internal emails are not captured and cluttering records with irrelevant data.
Sync direction: Think carefully about this one. Syncing both ways is convenient but means contacts created in Gmail or Outlook can end up in Salesforce. For teams with strict data governance, syncing only from email to Salesforce (one-way) keeps things cleaner.
Calendar sync settings: You can choose whether calendar events appear in Salesforce as Tasks or Events, and set default event privacy. For most sales teams, logging as Events with shared visibility works best.
Do not push Salesforce Inbox to your entire team without a pilot first.
Pick three to five reps and have them run through the setup. Test the following:
If activity is not appearing on records, the most common cause is a mismatch between the user’s email address in Salesforce and the connected account. Check Setup > Einstein Activity Capture Settings to see the sync status for each user.
Emails not syncing: Confirm the user has the correct permission set assigned and is included in an active EAC configuration. Both conditions must be true.
No Salesforce panel in Gmail or Outlook: The browser extension may not be installed, or the user has not yet authorised their account. Walk them through Step 6 again.
Duplicate records appearing in Salesforce: This usually happens when EAC creates new contacts from synced emails. Adjust the contact creation settings in your EAC configuration to require a match with an existing record before creating new ones.
Sync appears active but nothing is logging: Check the excluded addresses list you may have accidentally blocked a domain you want to capture.
Once the tool is live, there are a few practices that help teams get full value from it.
Use email templates consistently. Build a shared library of templates for common scenarios — introductory outreach, follow-ups after demos, renewal reminders and make them available to the whole team through Salesforce.
Keep an eye on activity metrics. With an Inbox licence, you get access to an Activities dashboard that shows a summary of emails sent, meetings booked, and engagement by rep. Sales managers can use this to spot patterns and coach accordingly.
Review sharing settings regularly. Privacy preferences can shift as teams change, so it is worth checking that the visibility settings on synced emails still match your team’s expectations.
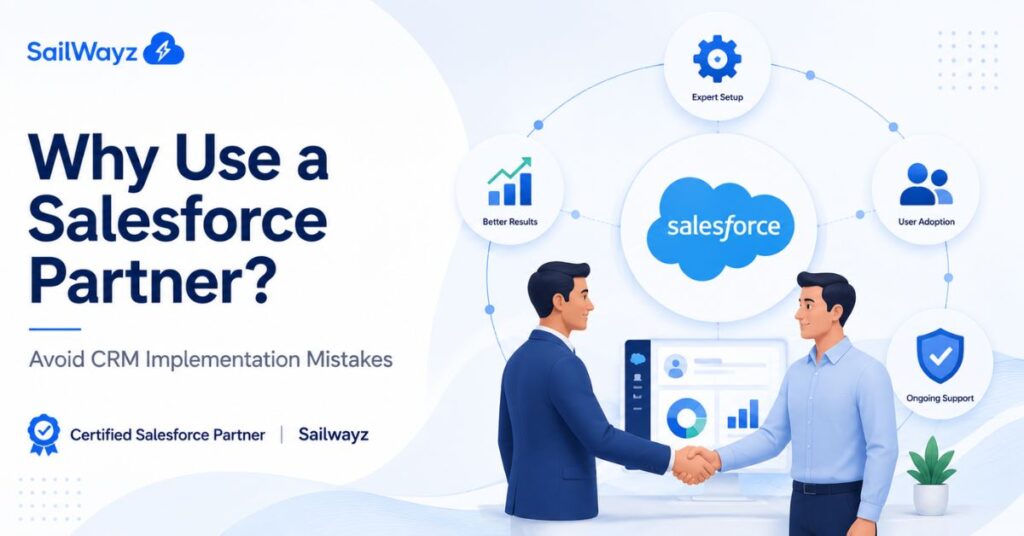
If you are setting up Salesforce Inbox as part of a broader CRM rollout or need help with permission sets and org-level configuration, the team at Sailwayz specialises in exactly this kind of work. As a certified Salesforce consulting partner, they handle the technical side so your team can focus on using the tool rather than wiring it together.
Setting up Salesforce Inbox takes a bit of careful configuration, but once it is running, it removes a significant amount of manual work for sales teams. The key steps are: confirm your licences, enable Inbox in Setup, assign the right permission sets, configure Einstein Activity Capture, and have each user connect their email account.
If you run into issues or want the setup done properly from day one, Sailwayz offers Salesforce consulting services covering everything from initial configuration through to ongoing support. Their team of certified consultants has hands-on experience getting Salesforce tools working the way businesses actually need them to.
Yes. Salesforce Inbox requires a paid Inbox licence on top of your existing Salesforce licence. The standard version of Einstein Activity Capture is included with Sales Cloud, but advanced features like email tracking and templates are only available with a dedicated Inbox licence.
Yes, you can create separate Einstein Activity Capture configurations for different email providers within the same Salesforce org. Assign each configuration to the relevant users based on which email platform they use.
Once Einstein Activity Capture is configured and users have connected their accounts, the initial sync typically begins within a few minutes. Historical data, if you choose to import it, can take longer depending on how far back you set the sync window.
This is a genuine consideration. Data captured by EAC is stored on Amazon Web Services infrastructure rather than natively in Salesforce. If you deactivate EAC or change licences, that historical activity data will no longer appear in your record timelines.
Yes. You can set excluded addresses at the org level to prevent certain domains or contacts from syncing. Individual users can also set privacy controls to limit who can see the content of their synced emails and calendar events.

Joshua Eze is the Founder & Salesforce Architect at Sailwayz, a certified Salesforce Consulting Partner based in the UK. With over 6 years of experience leading CRM transformations, he is a certified Application & System Architect passionate about using technology to simplify business processes. Joshua helps companies unlock the full potential of Salesforce with strategic, scalable, and secure solutions.